|
|
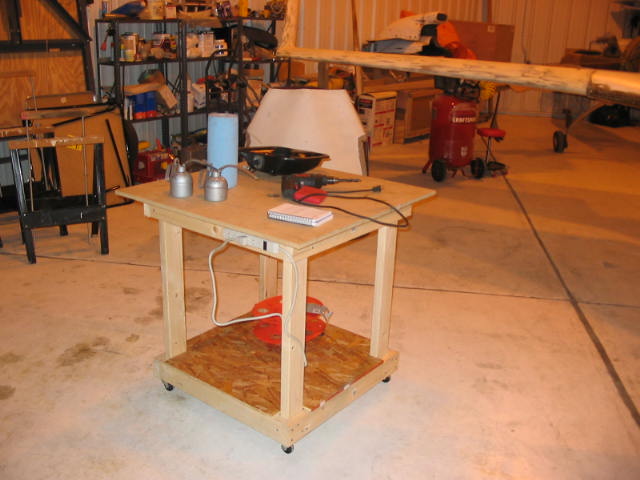
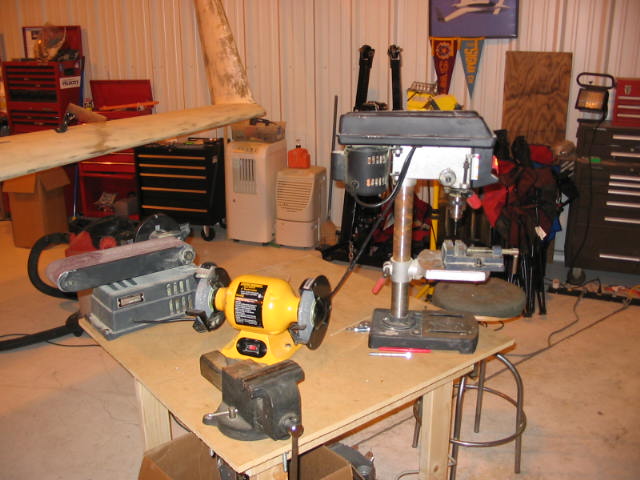
Well here goes an update on Chris's velocity project.. This past wednesday, EAA Chapter 12 had an open house/meeting that we had at the hangar out at EFD (Ellington Houston,TX) and we had the opportunity to meet a few new prospective members as well as show off the Velo (and our hangar mate's Vari Eze rebuild/refurb). Made some new shop tables that are heavy duty, and able to hold 2 or 3 engines worth of parts if needed, and mounted most of our bench tools on one as a work station for anticipated fab work. We had a nice turnout.. maybe 15-20 peeps max and I managed to get a few newbies to attend (ones a cherry PP the other is a wannabe)... anyways...
After then meeting, and obligatory beer session (I mean.. bull session.. yea.. really).. Chris, myself and a newbie named Drake went after mounting the engine mount to the firewall using AN hardware. I ended up with some AN6-30 on the top of the CCI mount and on the bottom some AN6-37A. The A suffix denotes no "hole" on the end of the shank so I took one of my nuts (5 total) and sacrificed it to make a jig for drilling the two -37A bolts to accept cotter pins. Once that was accomplished, we went to fitting the lower longer bolts. I have to mention it is an EXTREMELY tight fit due to the proximity of the gear saddle to the lower engine mount bolts. This meant we spent a lot of time just trying to get the bolt ON the nut in close quarters. After getting it on there we discovered that the holes were just a little too far up to allow a cotter pin to safety the castellated AN nuts, so with SWMBO waiting patiently at home, we called it quits at about 2330 that night. That same night I made use of a very graciously loaned 600 ft/lb torque wrench that an aircraft part/tool house loaned me and removed/reinstalled the "Nut From Hell" and ensured it was TRULY at 350 ft/lb.
Fast forward to tonight.. after all my social obligations were concluded I ended up running into Drake online, and we went back out to the hangar tonight to try and re-fit the mount. Rather than re-drill the bolts, we added some large fender washers to the assembly that increased the thickness of the assembly. This time we were able to get the AN bolts installed top and bottom and passed a small strip of safety wire though each to ensure that the holes were aligned and able to be pinned later with cotter pins. On a side note, we discovered that hot-glueing the nut to a box end wrench helped tremendously with threading the nut in close quarters.
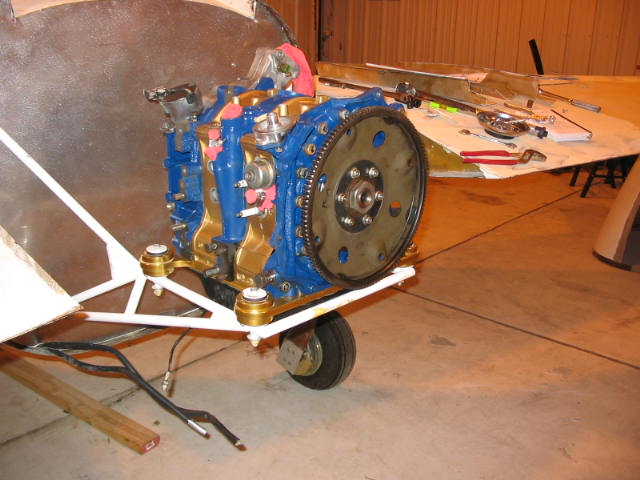
Next step was to place the engine ON the mount for a dry fit. We placed it on the CCI mount plate and went to fit a stock oil pan to the bottom and discovered that the oil regulater splash guard would not be able to stay. Took it off with a cut-off wheel and then placed the pan/engine on the mount with 4 of the 21 bolts placed to ensure it didnt pull off/fall off the mount. The next chore was the removal of the pilot bearing. We had tried removal from several approaches without success.. The Harbor Freight pilot bearing puller is a smidge too large to go into the bearing hole... finally I re-read the RD1-B install manual and it mentioned that a dremel has been used in the past for stubborn ones. I ended up extracting the individual needles with a scalpel and needlenose pliers, collapsed the inner race and yanked it out, then ended up using a dremel to gouge the outer race, then collapsed IT as well.. Infortunately this gouged the inside of the bearing channel in the process, so I drum sanded rough spots until it was finger smooth. The PSRU pilot shaft was able to fit in without difficulty.
At this point, I wanted to dry-fit the PSRU on... if nothing more than to give Chris a picture or two to gloat over.. but right around here is where things came to a screeching halt. The damper plate did not match up to the flex plate that we had. The bolt hole diameter was a smidge larger on the flex plate than on the damper plate. Looking back.. I want to say that we have a 1992 flex plate that came with the couterweight I bought.. and while I left the install manual at the hangar, I believe it calls for an 86-91 auto flex plate. So.. it WASNT going to fit.. At that point I decided to call it a night/morning... and post a few pics of all the excitement. Oh well.. back to ebay for a flex plate.... somewhere..somehow.
Dave Staten

EngineOn.JPG

Table1.JPG

Table2.JPG
|
|